In this fourth part of a series of blog posts on the WPF list box, you are going to learn to use the CollectionViewSource class in .NET to sort data. The CollectionViewSource class can be created in XAML and passed parameters in order to sort the data coming from your data source. In addition, you may instantiate a CollectionViewSource class in code and sort the data based on a user selection.
Before reading this blog post, it is recommended you read my blog post Using WPF List Controls - Part 1 so you can learn about the data layer used in this blog post and review how WPF list controls work.
Sorting
Let's look at how to sort data in your WPF application without having to change the source code of where the data comes from. There is a class named CollectionViewSource that accepts any IEnumerable collection and allows you to sort that collection. All the sort definitions are created in XAML. This comes in very handy when you are consuming data from a source where the data is given to you and you do not have control over the sort order in which it is given.
Sort Using XAML
To use a CollectionViewSource object, use the SortDescription class from the System.ComponentModel DLL. This means you need to add an XML namespace to your user control on which you wish to use the CollectionViewSource. Add the following attribute on your user control (or WPF Window).
xmlns:scm="clr-namespace:System.ComponentModel;assembly=WindowsBase"
The 'scm' namespace is an alias for the System.ComponentModel.dll. Within the <UserControl.Resources> section on your user control, add the following code.
<UserControl.Resources>
  <vm:ProductViewModel x:Key="viewModel" />
  <CollectionViewSource Source="{Binding Path=Products,
                        Source={StaticResource viewModel}}"
                        x:Key="ProductsCollection">
    <CollectionViewSource.SortDescriptions>
      <scm:SortDescription PropertyName="Name"
                           Direction="Ascending" />
    </CollectionViewSource.SortDescriptions>
  </CollectionViewSource>
</UserControl.Resources>
The first line of code within the <UserControl.Resources> section creates an instance of a ProductViewModel class. This view model has a Products property that is a collection of Product objects. Once the ProductViewModel object is instantiated, that view model is used as the source of the data to the CollectionViewSource object. You bind the Products property to the CollectionViewSource object. The CollectionViewSource has a SortDescriptions collection where you add one or more SortDescription objects. Each object sets a PropertyName and a Direction property. As you see in the above code, set the PropertyName equal to the Name property of the Product object and tell it to sort in an Ascending direction.
Now that the data has been sorted on the Name property, create a ListBox control and set its ItemsSource property to the key of the CollectionViewSource object as shown below.
<ListBox
   ItemTemplate="{StaticResource ProductLargeTemplate}"
   ItemsSource="{Binding Source={StaticResource
                                 ProductsCollection}}" />
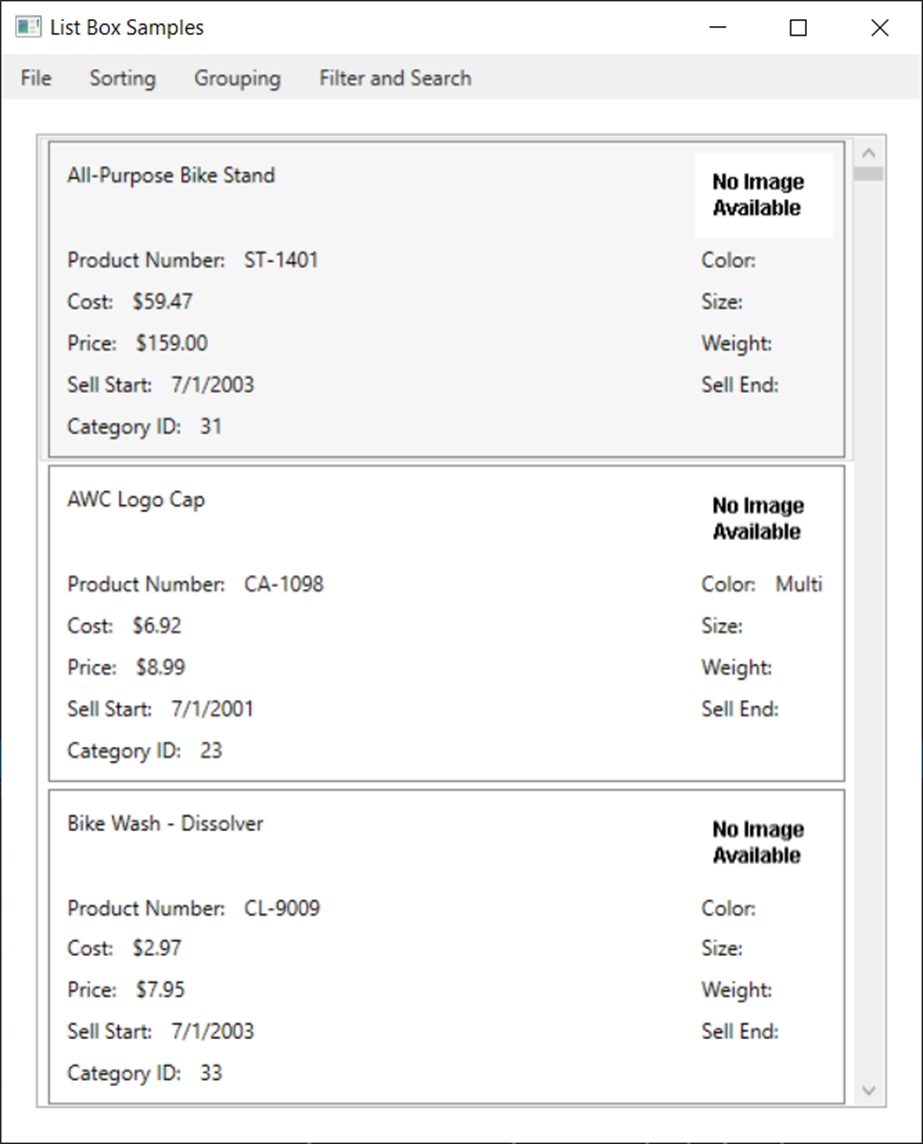
The ListBox displays the data in sorted order by the Name property, as shown in Figure 1, and you did not have to write any LINQ queries or other code to sort the data.

Sort Using Code
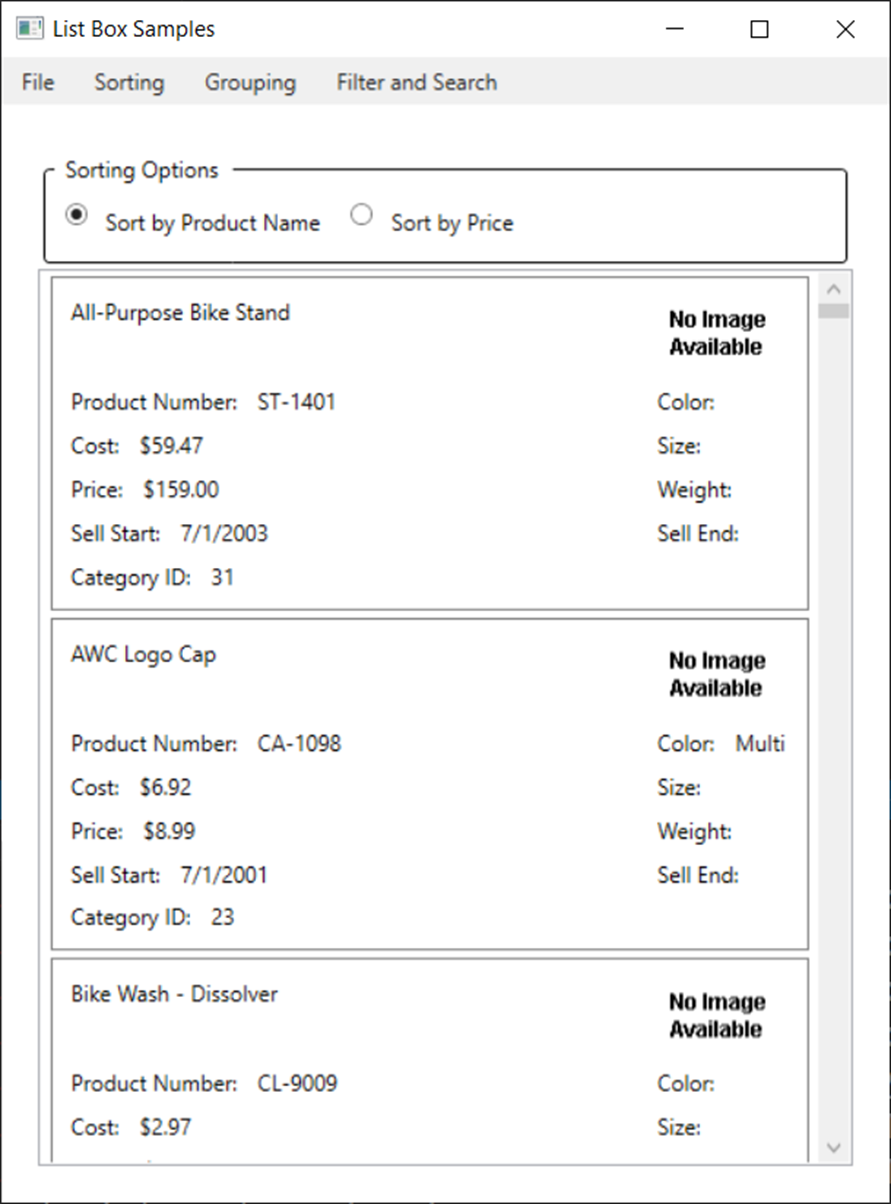
As with everything in WPF, if you can declare objects with XAML, you can use those same classes in C#. Let's learn how to use the CollectionViewSource and SortDescription classes to sort data dynamically in C#. First, add some buttons onto your control as shown in the following code. You screen should now look like Figure 2.
<GroupBox Grid.Row="1"
          Header="Sorting Options"
          BorderBrush="Black"
          BorderThickness="1">
  <StackPanel Orientation="Horizontal">
    <RadioButton Tag="Name"
                  Checked="SortTheData"
                  Content="Sort by Product Name" />
    <RadioButton Tag="ListPrice"
                  Checked="SortTheData"
                  Content="Sort by Price" />
  </StackPanel>
</GroupBox>
Each RadioButton object has a Tag property with a value set to either Name or ListPrice. These values are the names of properties in your Product class you are going to sort upon. Add a Name property to the ListBox control and set the ItemsSource to use the view model instead of the CollectionViewSource you used in the previous example.
<ListBox Grid.Row="2"
    Name="ProductList"
    ItemTemplate="{StaticResource ProductLargeTemplate}"
    ItemsSource="{Binding Source={StaticResource viewModel},
                          Path=Products}" />
In the code window of your user control, create the SortTheData event procedure to respond to each RadioButton's Checked event.
private void SortTheData(object sender, RoutedEventArgs e)
{
  if (ProductList != null) {
    ICollectionView dataView = CollectionViewSource
        .GetDefaultView(ProductList.ItemsSource);

    // Change sort order
    dataView.SortDescriptions.Clear();
    dataView.SortDescriptions.Add(
      new SortDescription((sender as RadioButton).Tag.ToString(),
        ListSortDirection.Ascending));

    ProductList.ItemsSource = dataView;
  }
}
The code in the SortTheData event procedure checks to ensure the list box control has been created. If it has, it creates an ICollectionView object by using the static method GetDefaultView() of the CollectionViewSource class. Pass to this method the ItemsSource contained in the ProductList list box.
Clear any old SortDescription objects in the SortDescriptions collection. Add a new SortDescription object using the Tag property as the name of the property in the collection to sort upon. Set the ItemsSource property of the ListBox to this new ICollectionView object and the list box redraws itself using the new sorting order.

Summary
In this blog post you learned to sort data using the CollectionViewSource. You declared the sort order using XAML code. You then converted the data in the ListBox to a CollectionViewSource object and sorted the data using C# code. Take advantage of the Tag property so you don't have to hard code any property names. If you want to add a new property to sort upon, you simply add XAML code, and you don't have to change the C# code.